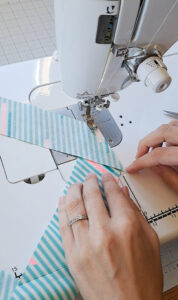
Welcome to Day 2 of the Atlas Zipper Case Sew Along!
Today is all about prepping the Binding fabric pieces. The Binding A, B, and C strips will be sewn on the pockets inside the case, with Bindings A and B being placed horizontal on your pockets, and Binding C vertical (this information can be useful if you’re using directional fabric for the Binding fabric, otherwise there’s no need to worry about their orientation while cutting them out). After following the pressing directions for the Binding strips and Zipper Tab, you’re ready to move on to the Bias Binding.

Bias binding has a reputation of being intimidating, but it really doesn’t need to be! Bias binding is just binding that is cut diagonally (at a 45 degree angle) instead of with the grain of the fabric. The benefit of cutting binding on the diagonal is that when fabric is cut on the bias, it allows the binding to stretch a little. This stretch becomes our best friend when binding around curves!

There are many different ways to make bias binding, so if you’ve learned and prefer a different way than what is shown in the pattern, then please feel free to use that technique. The method that I share in the pattern is my favorite way to make bias binding when I only need a small amount. It’s a relatively simple method, and one that I can remember without too much difficulty. 🙂
Since I can’t show the process to all of you in person (and photographs aren’t any more helpful than the diagrams in the pattern), I did the next best thing and made a video of making bias binding. Yay! You can catch the video on my instagram account HERE.
Link’s for today’s assignment:
Oliso Iron: click HERE
Wool Pressing Mat (I’ve used three different brands of wool pressing mats and they’ve all worked great! If you’re looking for one, I’d suggest finding a brand that has the size you want and then checking reviews). Here’s a link to one that I own: click HERE
Olfa Rotary Cutter: click HERE
Olfa Ruler: click HERE
Thanks for sewing along!
Kristina
