This is a blog post I wrote on my old blog way back in 2017. I’m reposting it here for easy reference. 🙂
Hello! For those of you that follow me on instagram, you’ll know that I recently shared an easy and quick method to get perfectly pieced patchwork squares on my instagram stories. The instagram stories are only available for 24 hours before disappearing and I’ve had so many questions, comments, and messages about the method that I decided to write a blog post for those that missed the instagram stories I posted.
As a disclaimer: I did not invent this method. I first heard about it years ago. I am sure there are a number of other tutorials and videos out there describing this process, but after sharing how I used fusible interfacing to quickly get perfectly pieced squares on instagram, I wanted to document the method that I used in the hopes that it would help someone out. 🙂
To start out, you’ll need to figure out how big of a piece of interfacing to use. For example, if you are wanting to create a 16″ x 16″ pillow cover out of 2.5″ x 2.5″ squares (the squares will finish at 2″ x 2″ after 1/4″ seam on each side), then you know you’ll need an 8 x 8 grid of squares (8 x 2″ finished=16″ finished). So, the unfinished size will be 8 x 2.5″ unfinished = 20″ unfinished and you’ll want a 20″ x 20″ piece of interfacing. Is that clear as mud? Haha. If the math isn’t your favorite, you can always experiment a little until you feel a little more comfortable with the method. Also, it’s a great idea to make the finished panel a little larger than you think you might need and then you can always trim it to size after. 🙂
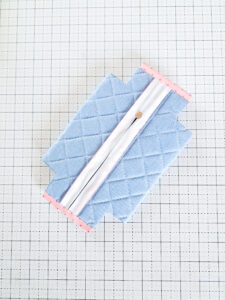
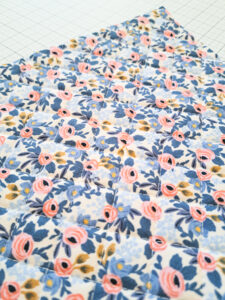
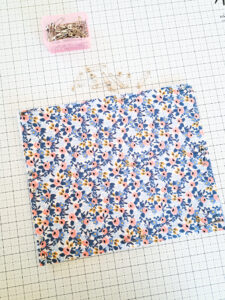
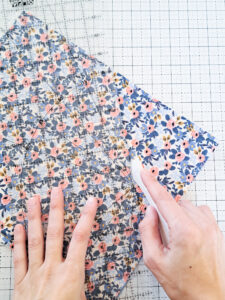
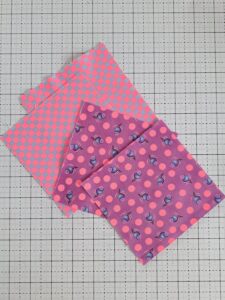
Below, you’ll see my piece of fusible interfacing and the squares that I’m using. I decided to make a 5 x 5 grid of 2″ x 2″ squares. This means the squares will finish at 1.5″ x 1.5″ each and my entire finished panel will be 7.5″ x 7.5″ since 1.5″ x 5 = 7.5″.
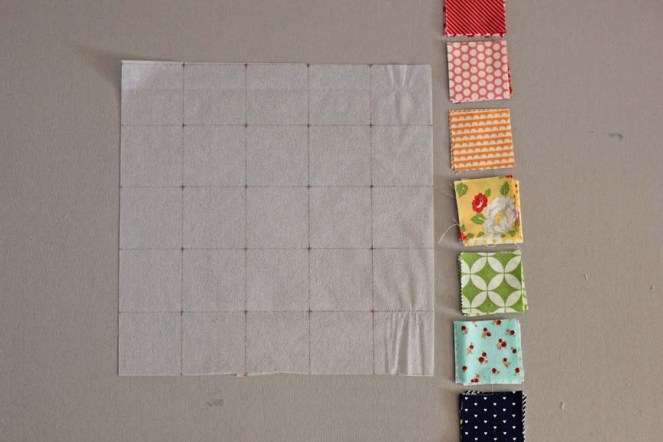
The fusible interfacing I’m using is by TenSisters Handicraft and comes pre-printed with grids on it (neat, huh?). I’ve heard from others who have drawn their own grid lines on a generic lightweight fusible interfacing. I haven’t personally done this, but if you have tried it and have any tips or tricks, leave a comment letting us know. If you are drawing your own grid lines, remember to make them the same size as your cut squares. The grid lines in my pre-printed interfacing are 2″ x 2″, which is why I’m using 2″ squares.
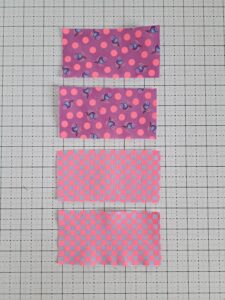
You’ll want the textured, bumpy side of the fusible interfacing to be face up then you can start placing your cut squares right side up inside the grid lines. The squares do not have to perfectly placed–just try to get them lined up straight and any wonkiness will work itself out when you add in the seams.
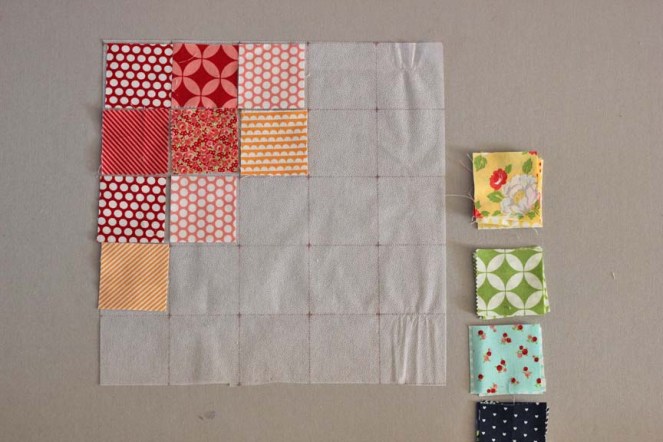
After placing all the squares where you want them, it’s time to iron them in place! Gently set the iron on top of the squares for a few seconds and slowly work your way through the panel. You want to make sure to not the slide the iron across the panel because it might shift the squares before they are completely fused to the interfacing. Pick up the iron and gently set it down, moving around the panel until all the squares are firmly attached to the interfacing.

When the squares are attached properly, you can pick up and move the panel–they won’t be going anywhere!

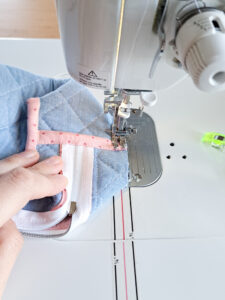
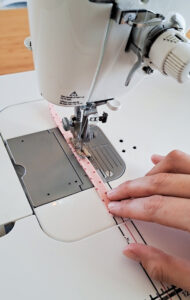
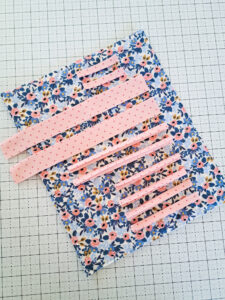
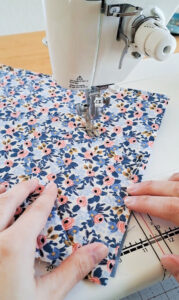
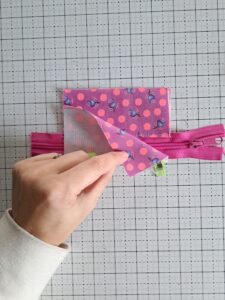
Now we’ll sew the seams to make our panel into a patchwork piece. Fold over the first column so the crease is right on the grid line. Sew a seam down the entire column 1/4″ away from the crease.
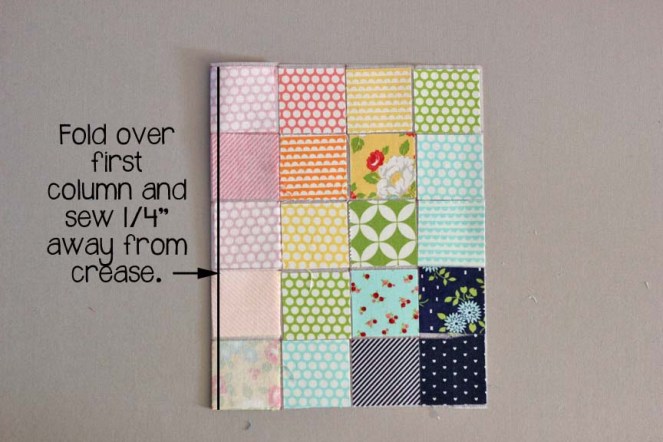

Repeat with the remaining columns, folding each one over at the crease and sewing a 1/4″ seam down the entire column.

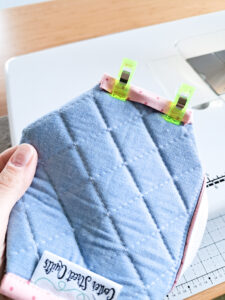
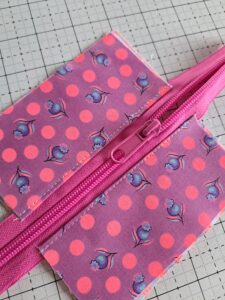
When all the columns are sewn, it looks a little goofy and should be quite a bit narrower.

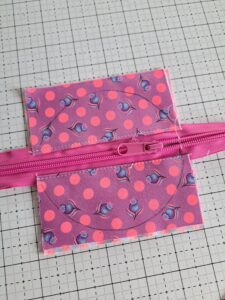
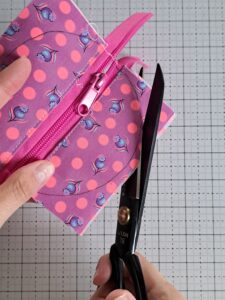
Next, turn the panel over so you’re looking at all the seams on the back. Clip the interfacing at the intersection of each of the grid lines. Clip right to, but not through the sewn lines. Clipping these intersections will allow you to press the seams in opposite directions to avoid huge, bulky seams.
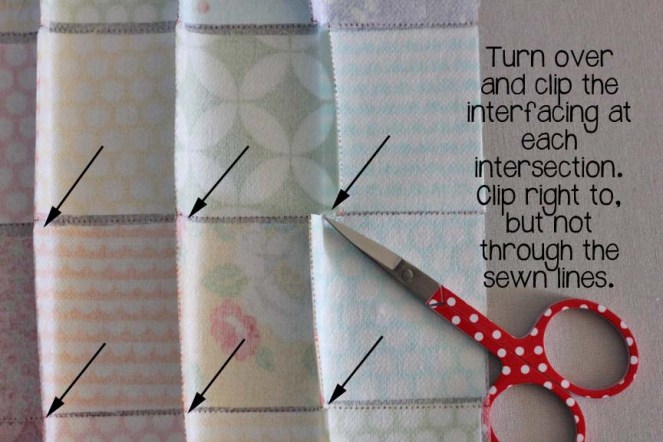
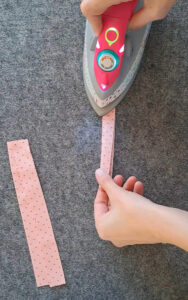
After all the intersections are clipped, iron each row in opposite directions. Again, this will help reduce bulk at the seams.

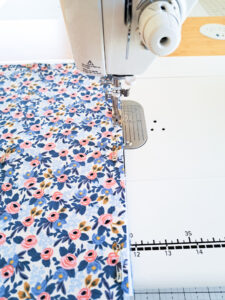
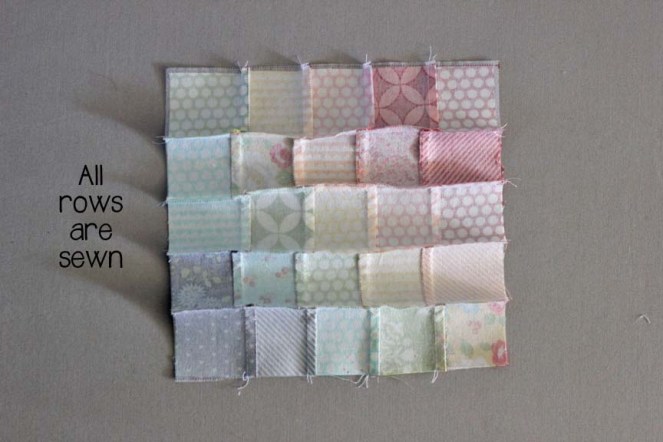
Now it’s time to sew the rows! Just as you did with the columns, fold over the first row at the grid line and sew a line 1/4″ away from the crease. As you sew, check to make sure that the seams you pressed in the last step are laying in opposite directions so they nest perfectly.

Continue with the other rows until all the rows are sewn.
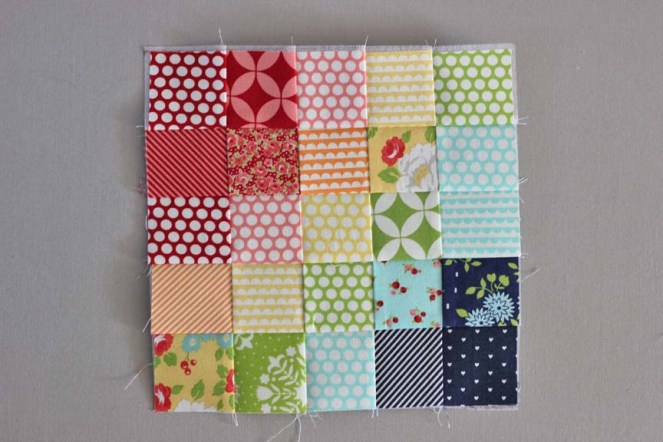
Press the newly sewn seams all in the same direction.

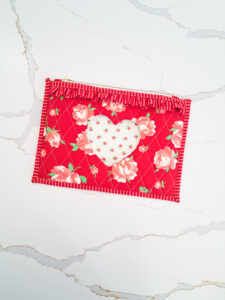
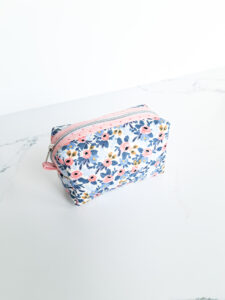
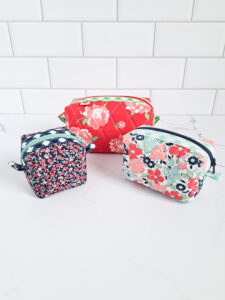
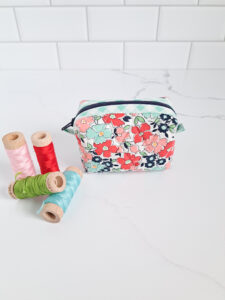
Turn the panel over and press from the front to help flatten out the seams a little more. The interfacing does add a little bulk and stiffness, but if you’re using the panel as a pillow cover or for a pouch, the stiffness can be nice. I’ve heard from others who have used this method for an actual quilt and they didn’t mind the extra weight.
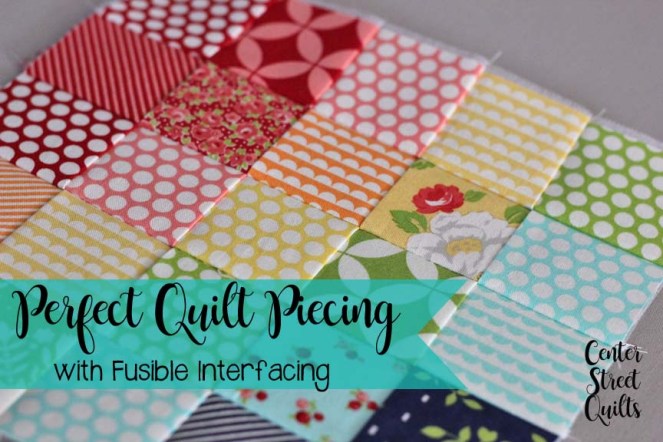
This method definitely saves time and the hassle of trying to remember which tiny square goes where, but I think the biggest benefit is the precise seams! I could never in a million years get all of my seams to match up so well doing it the traditional way! 😉

Thanks for following along and please let me know if you have any other tips or questions in the comments below.
Happy Sewing!
-Kristina