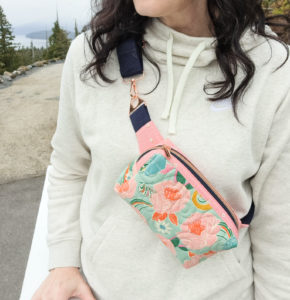
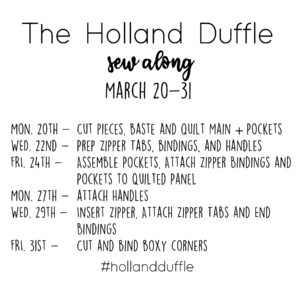
Welcome to Day 3 of the Hemingway Sew Along!
Today’s a big day. We’re sewing on our zipper then reattaching the pull. If you’re struggling with getting the zipper pull back on, I have a handy video on my Instagram account that should help: click HERE for the zipper pull video. I also recommend trying size #5 zippers (especially the By Annie and Sallie Tomato brands). The larger zippers are generally easier to get the pull back on. And please know that it will get easier the more you do it!
You can also try out a product called the Handy Zipper Jig by Gypsy Quilter (link HERE). I was surprised at just how well it worked and it definitely helps get those pulls back on!
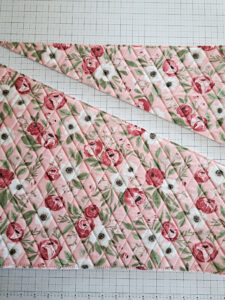
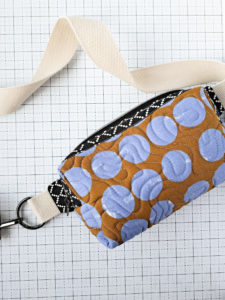
ATTACH THE ZIPPER BINDING
Follow the instructions in the pattern to attach the Zipper Binding onto the quilted panel. If you’ve ever bound a quilt, it’s a similar process. My biggest tip for this is to make sure you attach to the lining side first. Then pull it taught before stitching onto the Main fabric side.
PREPARING THE ZIPPER
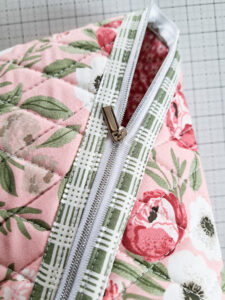
If needed, remove any metal zipper stops (cut across the zipper teeth with utility scissors) and take the zipper pull off. Then separate the two sides of the zipper tape.
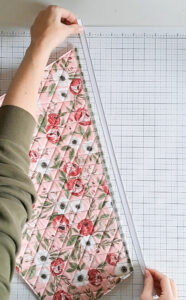
When you line up your zipper to sew it on, center it across the zipper binding so there are equal lengths hanging off each side of the panel.
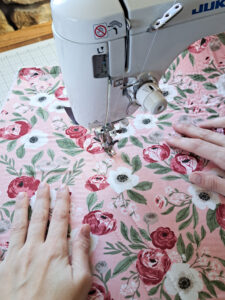
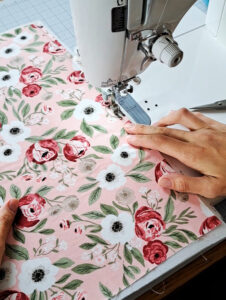
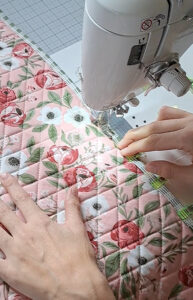
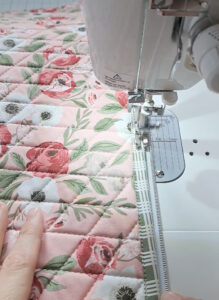
ATTACHING THE ZIPPER
As you sew the zipper on, sew slowly and stay about 1/8″ away from the edge of the zipper binding. I use my standard presser foot when attaching the zipper because it’s pretty thin and works well. Feel free to use a zipper foot or whatever works for you!
REATTACHING THE ZIPPER PULL
As mentioned above, the first couple of times getting a zipper pull back on can be pretty tricky! Keep at it and try out the trick from my Instagram video HERE.
Also, give a larger #5 zipper a try. They are much easier to get the pull back on than a standard #3 zipper. The Handy Zipper Jig by Gypsy Quilter is also a great tool for getting the pulls back on (link HERE).
Those are my tips for today! You can watch the video for today’s assignment on my Instagram account HERE.
Favorite zipper sources:
Handy Zipper Jig Tool (click HERE)
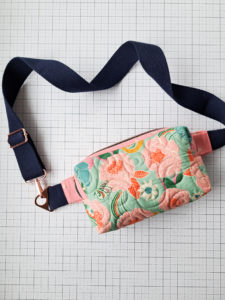
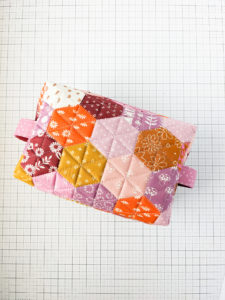
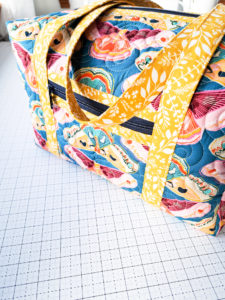
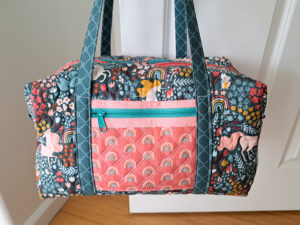
Sallie Tomato Zipper shown in photos here (from Missouri Star Quilt Co)
Patterns by Annie Zippers by the yard (click HERE)
Zippers that look metal but are nylon (click HERE)
Zipper Valley (click HERE)
Zipit Etsy Shop. I particularly like their “long pull” zippers (click HERE).
Thanks for sewing along!
-Kristina