![]()
Today, I’m sharing a tutorial for a crocheted edge flannel baby blanket. My grandma taught me how to crochet around flannel baby blankets when I was a teenager. Since then, I’ve made dozens of these sweet baby blankets and they’ve become a favorite present for family and friends expecting a bundle of joy.
My grandma always took her flannel yardage to a friend with a specialized hemstitch machine to prepare the fabric to be crocheted. Her friend did a beautiful job, but since I didn’t have access to someone with a hemstitch machine, I started to look into doing the hemstitching portion myself.
I found that a Hemstitch Needle, or sometimes called a Wingtip Needle, was just what I was looking for to be able to do the hemstitching on my own domestic machine. A Hemstitch Needle has flat, sharp, blades on the sides to create a larger opening in the fabric. If you combine the Hemstitch Needle with a decorative stitch that goes in and out of a hole multiple times, it creates a reinforced hole large enough for a crochet hook to go through.
![]()
![]()
It turned out to be the perfect solution to making my own crocheted edge baby blankets and I’d love to share the process with you!
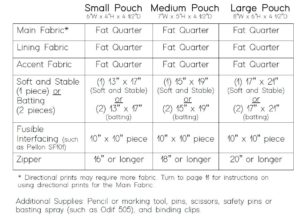
Supplies Needed:
* 1 1/4 yard of two flannel fabrics (in this tutorial, I’m using Bears on Bikes from the Riley Blake Designer Flannel Collection
* Hemstitch Needle for your sewing machine (found HERE).
* Crochet Thread (I’m using Lori Holt Chunky Thread found HERE).
* Crochet Hook (the size needed will depend on how big your hemstitching holes are and what thread you choose. For my blanket here, I used a size 3 crochet hook).
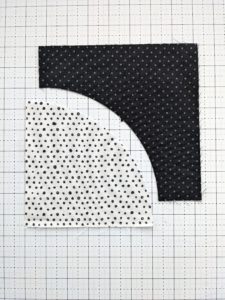
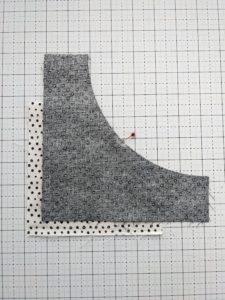
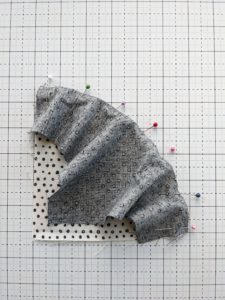
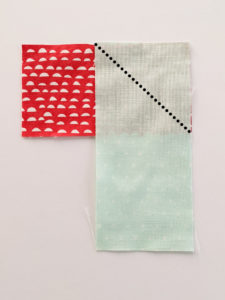
To prep the flannel baby blanket for the hemstitching, layer the front and the back flannel fabric, right sides out, then cut to a square (I prefer to use 1 1/4 yard cuts of flannel and then make my blanket about 42″ x 42″ square, but a smaller size square–or even rectangle–will work just fine, too). After basting the two layers of flannel together with safety pins, sew a large square (about 20″ x 20″) in the center of the flannel to keep the layers from shifting as the blanket gets used and washed.
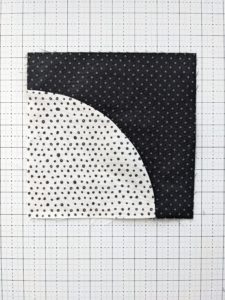
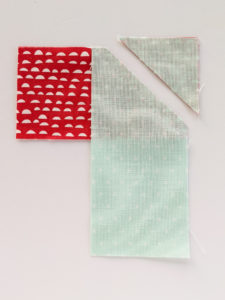
Using a circle template or a round object (about 6-8″ diameter works great), round the corners by marking then trimming the corners. The blanket is now ready for hemstitching.
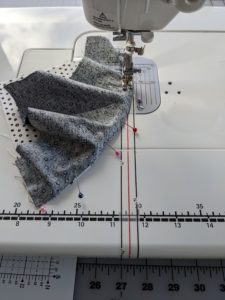
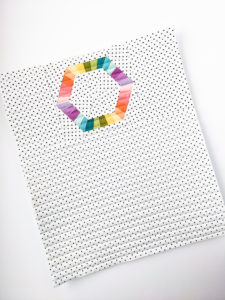
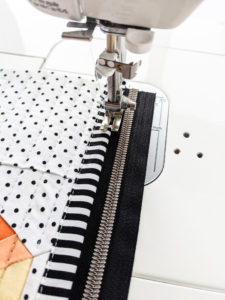
To get the hemstitching stitches how you want, I suggest getting a scrap piece of flannel and testing different decorative stitches on your machine to determine what stitch and stitch length to use. You want the needle to go in and out of the center hole several times to create a nice, reinforced hole that a crochet hook can fit in. There are likely multiple decorative stitches on your machine that will work, so no need to worry if you choose a stitch that doesn’t look like mine below.
![]()
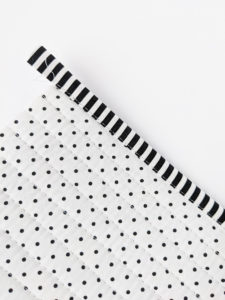
After hemstitching around the entire outside edge, trim the excess fabric to about 1/8″ away from the hemstitched line. Be very careful to not cut into any of the thread from the hemstitching.
![]()
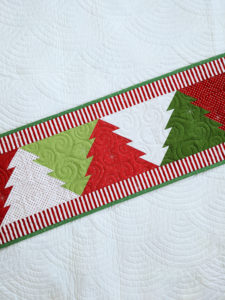
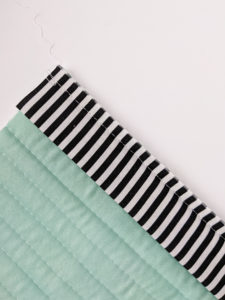
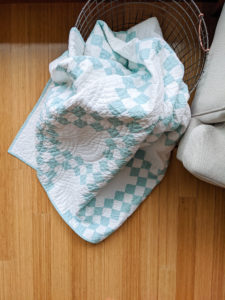
The flannel blanket is then ready to be crocheted! For this fun Bears on Bikes Designer Flannel from Riley Blake flannel, I chose a coordinating Lori Holt Chunky Thread in Sweet Mint. The Chunky Thread is thicker than a perle cotton that might normally be used for crocheting around a baby blanket, but it has a really nice weight and I love the look of the thicker thread on the crocheted border.
![]()
For the first round of crochet, I like to do a single crochet all the way around. Depending on the stitch length of your hemstitching and the weight of your thread, you can crochet in every hole, every other hole, or do multiple single crochet stitches in the same hole. For my flannel blanket here, I did a single crochet in every hole. Since I was using a thicker thread, I could have also crocheted in every other hole and it would have worked great.
![]()
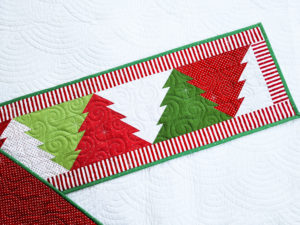
After the first round, I usually like to do a decorative crochet stitch to add a little extra interest. For this Bears on Bike blanket, I chose a sweet little scallop. The crochet stitches for the scallop are:
1 single crochet, skip one, 4 double crochet, skip one, repeat until end.
![]()
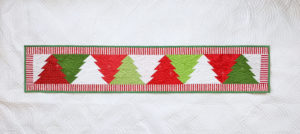
There you have it! Pretty simple and it makes for a super sweet handmade baby gift!
![]()
Happy stitching!
Kristina