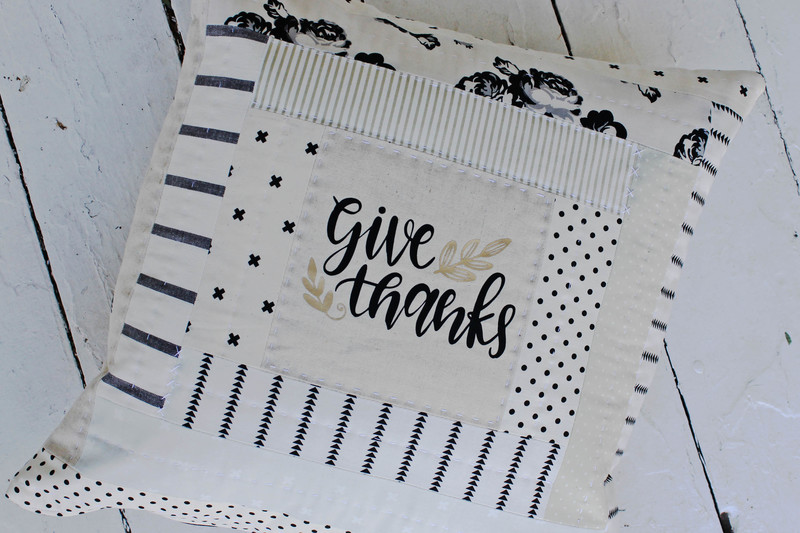
So you have a foundation paper pieced (FPP) pattern that you love, but it’s just not the right size for your project? Never fear–I’m going to give you all the info on how to adjust the size (shrink OR enlarge) your foundation paper pieced patterns so you can customize it to fit whatever project you’re working on!

Below, you can see my Tiny Log Cabin FPP block. The pattern comes with many size options (2″, 3″, 4″, 5″. and 6″) but what if you needed a different size? For example, if the project you were working on needed the Log Cabin block to be 7″ x 7″, you’ll need to enlarge the size of the pattern with a copier (or printer settings) to fit your needs.

To change the size of a foundation paper piecing pattern, you’ll want to choose the Resize option on the copier and then you can change the enlargement or reduction value to what you need. 100% will be the original/starting size of your pattern. If you want to shrink it, you’ll choose a number below 100%, and if you are enlarging the pattern, you’ll choose a number above 100%.

For a simple enlargement, such as making a pattern 2 times the original size, the calculation is easy: 2x the original size is 2 x 100% = 200%. Or for half of the original size, the calculation would be: 1/2 x 100% = 50%.

What if you’re wanting to do an enlargement or reduction that isn’t straight forward, though? If that’s the case, here’s the formula for you to use:

The finished/desired size is the size you want the pattern to end up being. The starting/original size is the size that the pattern started out as (these sizes are without the seam allowance!). Again, if you are wanting to enlarge the pattern, the “% to change” number should be larger than 100. If you are wanting to reduce the pattern, the “% to change” number should be less than 100.

If the percentage ends up being a number with a lot of decimals (e.g. 33.3333%), just round up to the nearest whole number (33.3333% —> 34%). That will make the pattern be just slightly larger (which is much easier to work with than pieces that are too small!).

After figuring out the correct enlargement or reduction size, you can go ahead and make the copies! I would suggest checking the pattern size with a ruler to make sure it is in fact the size that you were aiming for (check the size of the block without the seam allowances).

After you have your copies, you’ll notice that the seam allowances are not an exact 1/4″ anymore. If you enlarged the pattern, the seam allowance will also be enlarged and you’ll need to draw a new line 1/4″ away from the edge of the pattern to bring it back to the correct size. If you reduced the pattern, the seam allowance will be smaller. You’ll need to adjust it so it’s up to 1/4″ in size.

Sometimes the original pattern pieces are really close together and after you reduce the pattern, there isn’t 1/4″ in between the pattern pieces to make the seam allowances correct. If that’s the case, you can either print out multiple copies of the pattern to make sure you get each piece cut correctly with the accurate 1/4″, or you can keep the pattern pieces as is with a smaller seam allowance and after assembling each piece, remember to trim the fabric to 1/4″ (which will be beyond the edge of the paper).

I hope that helps clear up any questions you might have on enlarging or reducing a paper pieced pattern! Please let me know in the comments if you need any clarifications or have any additional questions for me. Thanks and happy sewing!


Sometimes you find a print that is so incredibly awesome that you have no choice but to design an entire quilt around it. This black astrophysics print is from the NASA Apollo 11 line by Riley Blake Designs and when I saw it, I knew I needed a quilt centered around this fun graphic fabric. 

Growing up, I was absolutely crazy about all things NASA. I loved science and even ended up getting a bachelor’s degree in Physics with dreams of possibly working for NASA someday. Over the years, I spent many years writing notes and solving problems with figures and equations that looked just like this print! So you can imagine how much I was geeking out over it.


To highlight the astrophysics print. I decided to go with a simple, modern plus quilt. The background is Confetti Cotton Riley White and the backing is Riley Blake Dreamy Minky in Sweet Mint (such a beautiful color!).  The binding is my all-time favorite stripe–Riley Blake’s black and white 1/4″ stripe. I’ve used this exact stripe on too many projects to count! I wanted to tie in the Sweet Mint backing color to the front of the quilt, so I added a small stripe of Riley Blake’s Kisses, also in Sweet Mint (I love that they coordinate colors across different prints and fabrics–it makes it so easy to get an exact match!).
The bold graphic nature of this simple quilt really makes the plus shapes pop and the astrophysics print makes it all the more special. 🙂 

The NASA Apollo 11 line has several other fun prints, so if you have a science, math, or engineering nerd (I use that term fondly) in your life, you’ll definitely want to check this new fabric line out!

Welcome to my stop on the Rainy Day Sewing Book Tour! Rainy Day Sewing is the darling new book from Amy Sinibaldi and Kristyne Czepuryk. The book includes full instructions and colored graphics for a delightful range of objects: quilts, softie dolls, pouches, totes, and more. The photos are inspiring and the projects are full of charm.


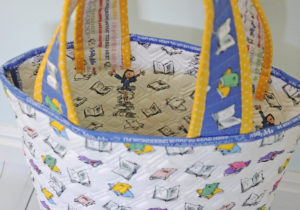
I seriously wanted to make all of the projects, but finally settled on the Thimble Basket. I fell in love with the tiny patchwork pieces on the side, hand-stitched binding, and the cute little handle. 


A bundle of blues, tans, and whites I recently purchased from Handmade is Heartmade was the perfect serene color palette and I just had to throw in some light blue plaid from Amy’s Les Petits line for the bottom of the basket.


My copy of Rainy Day Sewing is sure to get a lot of use–after all, there are still seventeen projects left for me to make! 😉

Faith Essenburg and Ange from A Little Patchwork have shared their Rainy Day Book Tour projects on their blogs and you can follow along with the other talented makers with the Book Tour Schedule below.


Happy Sewing!

It’s been so much fun to see everyone who has been participating in the #fallingforfpp sew along over on instagram! I’ve seen a lot of Simple Heart FPP blocks–if you haven’t picked up that free pattern, head on over to the blog post HERE and download it! 

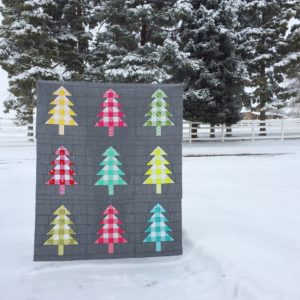
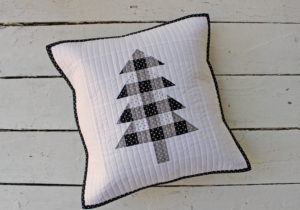
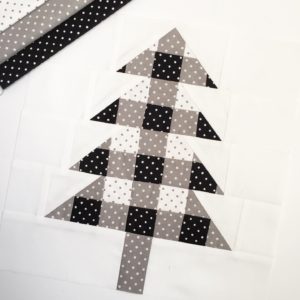
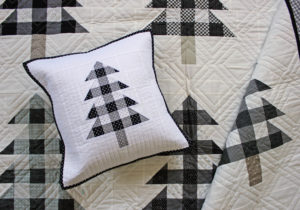
Today, I’m sharing a new foundation paper piecing pattern called Minimalist Trees. This cute pattern has three tree options-small, medium, and large-with two sizes for each tree (3″ x 3″ and 6″ x 6″). That’s six patterns total! And just like the Simple Heart block, the Minimalist Trees are super beginner friendly.

Minimalist Trees FPP Pattern by Center Street Quilts

Click on the link above to download the Minimalist Tree PDF Pattern and remember to post your photos on instagram using the hashtag #fallingforfpp so I can see them!


Have you tried foundation paper piecing (FPP) before? It’s such a fun method for piecing blocks that results in super accurate seams (and we all love accurate seams, right?). I also love that you can easily get angles and shapes that would be hard with traditional piecing. I absolutely love doing FPP projects and want to share that love with all of you!


Over on Instagram, I’m hosting a foundation paper piecing sew along throughout the month of September. This is the most low-key sew along ever! There’s not a specific pattern you need to choose– just pick any FPP pattern that you love. Throughout September, post in-progress photos, shots of your quilt block, or share a finished project that uses FPP and use the hashtag #fallingforfpp. There are (of course) prizes each week, so you’ll definitely want to be following along and start posting.

I’ll also be sharing videos with tips and tricks on instagram plus a new (and free) FPP quilt block once a week right here on my blog. In fact, you’ll find the first free FPP block pattern right here! Click on the link to download the Simple Heart PDF pattern. It’s a super easy, beginner friendly block to get you started.

Simple Heart FPP Pattern Download


Now start sewing and get sharing all your FPP creations on Instagram!