Today, I’m sharing a quick little sewing tutorial for a tiny trinket basket. These cute little baskets are perfect for putting sewing notions like binding clips or safety pins in an easy to reach spot next to your machine, storing small pieces of jewelry, or keeping all those odds and ends on your desk or dresser contained. And if you have little kids in your life, you just know they could find 101 uses for these baskets (why do they always have so many tiny treasures laying around?!?).
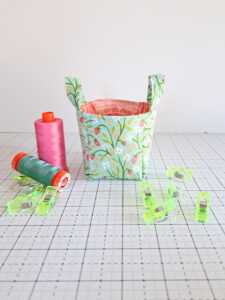
Plus, these baskets are made from just two squares of fabric! Can it get any easier?!?
Below, I have the free tutorial for the basket in the photo above, but if you’re interested in a PDF printable pattern that includes not only this basket, but two additional sizes (look how cute they all are together in the photo below!), check out my shop HERE for the Trio of Trinket Baskets digital pattern. Plus, you can find the video tutorial to these cute baskets on my Instagram account HERE.
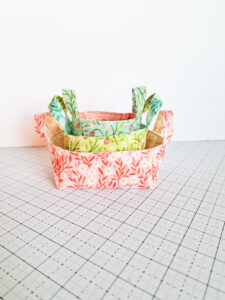
Tiny Trinket Basket Tutorial
Finished Size: 2 1/2″ x 2 1/2″ x 3″ (width x depth x height)
Find the video tutorial to the Tiny Trinket Basket on my Instagram account HERE.
Supply List:
(2) 10″ x 10″ pieces of fabric
Optional: (2) 8 3/4″ x 8 3/4″ pieces of lightweight fusible interfacing (such as Pellon SF101). Fusible interfacing isn’t necessary, but will give the basket more structure.
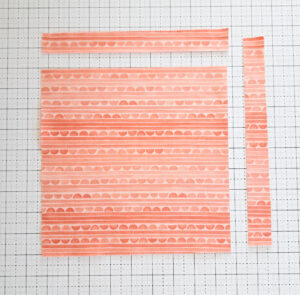
1. From each 10″ square, first cut 1″ long strips from two sides of the square to make a square 9″ x 9″. If using fusible interfacing, follow the manufacturer’s instructions to fuse the interfacing to the wrong side of the 9″ square.
2. Cut 3″ x 3″ squares from each of the four corners to create a “plus” shape.
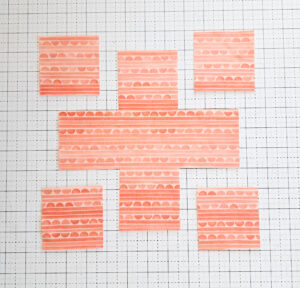
3. Place the sides from the cut corners together and sew them with a 1/4″ seam.

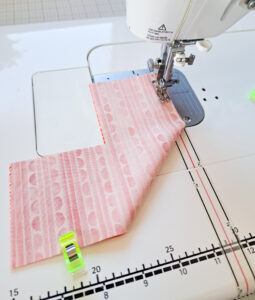
4. Repeat with the other corners, then repeat the lining fabric, too, to make two basket shapes.
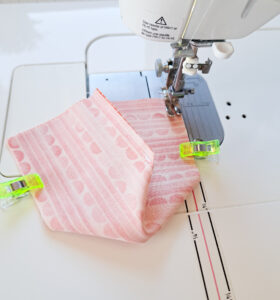
5. Take two of the 1″ strips and place them right sides together. Using a 1/4″ seam, sew down both long sides to attach the strips. Turn right side out (a tube turner, safety pin, or bodkin work well for getting the tube turned right side out). Top stitch along the long edges. Cut two handles, each 4″ in length.
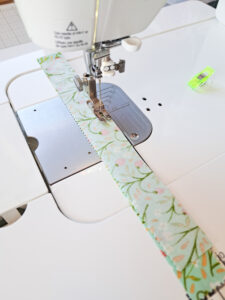
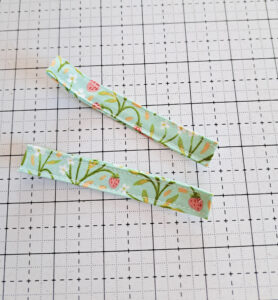
6. Sew the handle ends to the top of the main fabric basket (sew to the right/front side of the fabric).
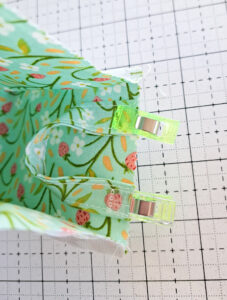
7. Keep the main fabric basket wrong side out and turn the lining fabric basket right side out. Place the lining fabric inside the main fabric and line up the seams in the corners. Clip to keep in place.
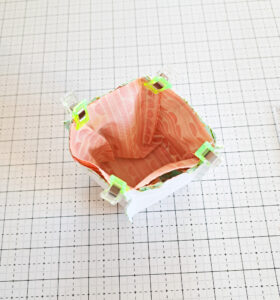
8. Sew around three of the four sides of the baskets, 1/2″ from the top raw edge (the fourth side will not be sewn to leave a hole to turn everything right side out).
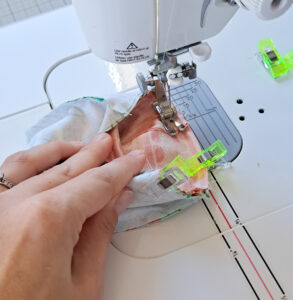
9. Turn the basket right side out through the hole and turn the raw edges of the fourth side towards each other into the seam to conceal any raw edges. Pressing around the top seam can get the edges to lay flat. Keeping the handles out of the way, top stitch around the entire perimeter of the top of the basket to close up the hole and finish your basket.
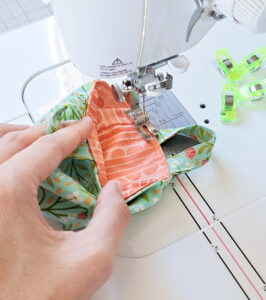
Fill your new basket with your tiniest treasures and enjoy! Then immediately plan your next one.
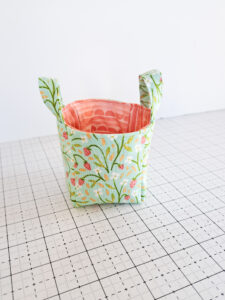
Remember, if you enjoyed making this sweet little basket, I have the Trio of Trinket Baskets PDF pattern in my shop HERE. You can download the PDF pattern for easy reference and make a darling matching set in three different sizes.
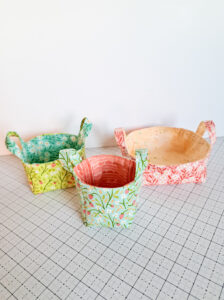
Aren’t those three baskets just so fun together?!?
You can find the video of the Tiny Trinket Basket on my Instagram account HERE.
Happy sewing!
Kristina

Bea Ann Hunter says:
Thanks for always sharing the cutest ideas!!
April Sodoski says:
Sew adorable 🥰
Lauren D. says:
I just made a scrappy version of this and I love it so much! Instead of using a 9′ square that I cut the corners of, I sewed 3″ squares into the same configuration. There was a little wonkyness because of the seams, but it came out super cute! Can’t wait to make more 🙂
Joanne says:
I absolutely love these , I’m going to make the tiny ones for my class table rewards – the children work as a team to be quietly working , tidying up their table as a team & generally doing the right thing & win Googley eyes that get counted up at the end of each week to win a small prize x
Susan says:
Your instruction are straightforward and clear. The end results are lovely. This is a project that looks perfect for gift-giving, any time of the year!